So, we’ve looked at the basics of dry tooling, and you’ve played around with a couple of moves. What’s next? It’s time to get into the nitty-gritty of dry tooling techniques.
Quickly, though, if you’re reading this and thinking, what the hell is dry tooling?, make sure to check out our previous blog post introducing dry tooling to learn what this seemingly-unusual climbing discipline is all about.
Steins
Whilst dry tooling on a climbing wall in North Devon might seem like a pretty strange and complicated affair, really, there’s only a handful of techniques to master. The first of these is the stein.
Often on our dry tool routes, we see novice climbers unwilling to use any technical holds, instead preferring to just hook on top and hope for the best. Then comes the inevitable pop, a split second of scrabbling feet and desperate grimaces, then back to the ground, still unsure of what exactly went wrong!
And then it’s Old Man Dave’s go. He climbs up, turn his axe upside down, leans away from it with all his weight, and, with a cheeky wink to the spectators, up he goes.
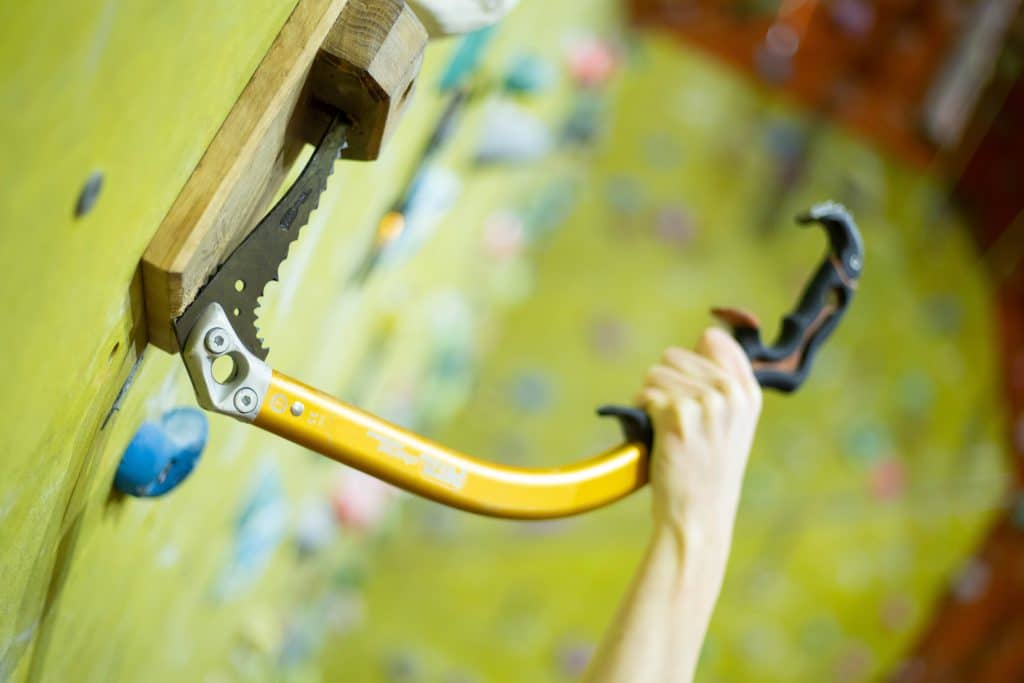
The stein is a really easy move, but doesn’t seem at all natural at first glance. By using the head of the axe as a lever, you can pull against the axe in directions that would ordinarily cause it to skate off and pop you into the void. On a good stein hold, you can hang all of your body weight off the axe, and it will just bite even deeper into the hold.
The idea is that the tip of the pick is neatly slotted into a suitable crack, and then the handle is pulled directly out, causing the head of the axe to cam against the wall and stick there.
They’re particularly useful on roof sections, where it would be hard to maintain constant downward pressure on the axe, as is normally required to keep it in place. This not only allows you to move your body weight away from the wall and over the lip, but is also slightly more forgiving as regards the rule of 90 (see our previous post).
You should stay aware, however, that though the hold is bomber, too much sideways force will cause the axe to stop camming, and, with all of your body weight hanging from it, the fall will be sudden and unexpected!
So. You’ve come down for a dry tooling night. You have a rough idea of the basics, and you’ve just seen Old Man Dave campus 5m of chain without breaking a sweat. Easy.
Filled with this fresh confidence, you start the route, all of your theory work coming into play. But you’re knackered. Unlike Old Man Dave, you haven’t spent a lifetime preparing. Unlike Old Man Dave, you need a break.
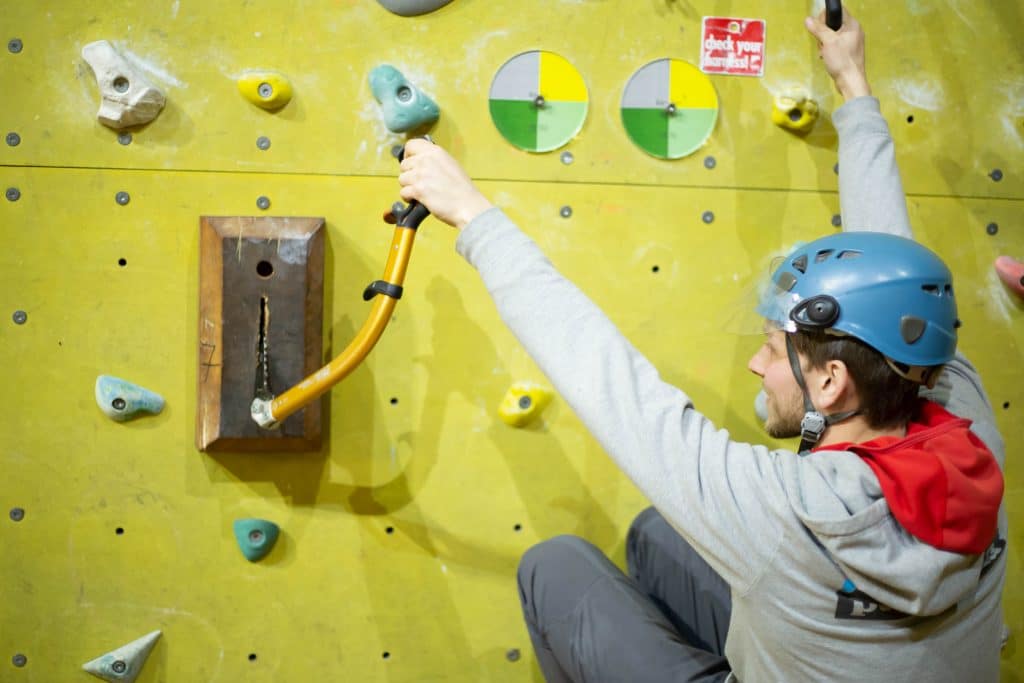
And how do you take a break with axes? You stein!
Find a nice vertical stein, wedge your axe, then hook a limb over the handle and relax. The simplest rest would involve hooking your arm over the axe, and maintaining pressure on it through the crook of your elbow. Personally, I find this isn’t great; it works well for a few seconds, just to breathe, but any longer and my arm starts to go numb from the axe pressing against my nerves and veins.
Much more fun (and much more nerve-wracking) is a leg hook. Same as the arm hook, but use your leg. Or both legs. So long as you maintain the correct angles on a decent hold, you can (and some do) hook both legs over the axe, bat hang, and take 5. Just be aware, you will need the core strength to right yourself. Failure to do so will result in a rather embarrassing, rather painful (but rather impressive) fall.
The last common way to rest involves sitting astride your axe in its stein. It’s stable, borderline comfortable, and allows all of your limbs some respite. Just bear in mind that any enthusiastic attempt to adjust your position could result in a sharp pointy axe flashing around your potential future family.
Torques
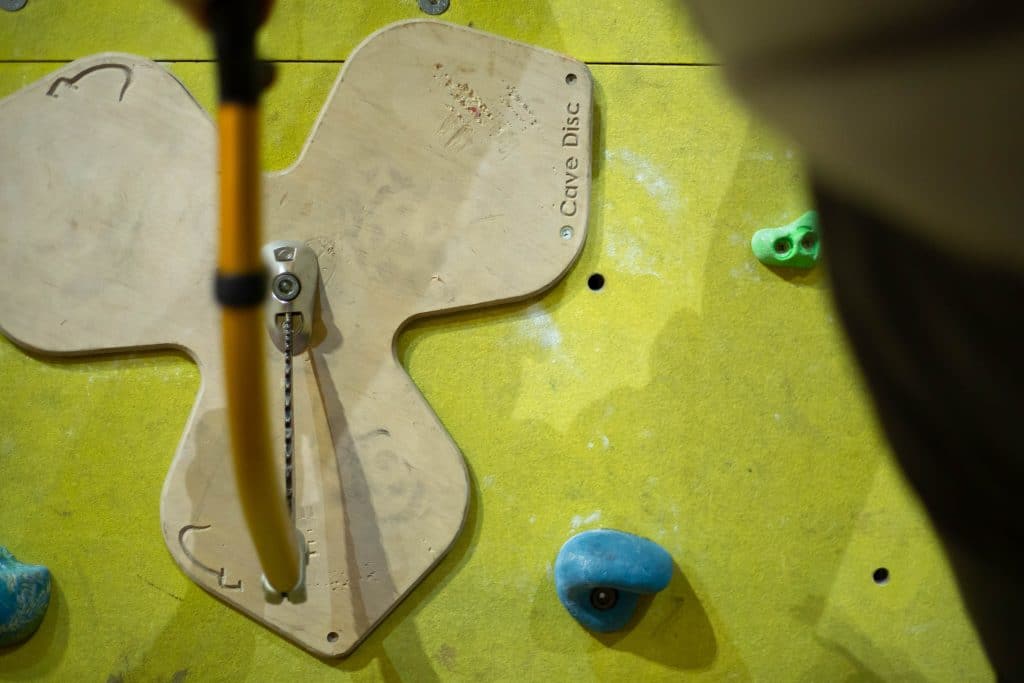
The next easiest dry tooling technique to master is the torque. You poke the axe into a narrow slot or crack, and twist it. The idea with a torque is to get the axe to jam in the crack along its width. As long as the force is constant in the same direction, the axe should stay in place. Occasionally (read: most of the time), the axe will tear at the hold, so if it’s made out of soft material, you’ll find that the axe just widens the crack and pops loose.
There are ways to counter this, but they’re incredibly awkward to explain in text…
Due to the nature of torquing, it’s really helpful in some situations. If you have to move sideways from a hold, or move above it at an angle, it can be quite difficult to keep the axe perpendicular to the wall. A torque gives you a lot more freedom – because the head of the axe is wedged in one direction, any movements in that direction shouldn’t release the axe. However, if the angle between the axe head and the hold gets too small, it will release and pop free.
A torque is the only type of hold/technique that allows a sideways twist, though this doesn’t make it less scary to try!
Underclings
Moving up on the difficulty/scariness scale, we have the undercling. Steins are all well and good if you’re below the hold, but if you want to move above a stein, you only have a couple of options. You could mantle above your stein, like a muscle-up, turning your pull into a push and keeping the pressure on the hold that way.
Or, you could move the axe head off the wall, and maintain a constant upwards pressure on the axe, using the front tooth to hook onto the hold. This takes a huge amount of energy and tires you out super quickly.
However, for a quick deadpoint-style movement, it works slightly better than the previous option, as muscling up on the stein will leave you closer to the wall, needing to move slow and steady to maintain the axes’ position. This is particularly difficult if you’re reaching up for an overhang, as the hold will often be behind your centre of mass.
Essentially, the undercling relies on a huge amount of muscle to keep it in place but allows a slightly wider range of movement up and out.
And thus, onto the Figure 4.
The Fig. 4

The fig. 4 is a relatively common dry tooling move, but it is also the toughest to get right. Used primarily when you have no footholds, the fig. 4 involves bringing the opposite leg up between your arms and hooking it over the positioned arm. The crook of your knee should be squeezing your wrist when done correctly. This enables you to reach higher, gain stability, and also puts more weight through the axe, locking it in position if the hold is stable.
The most common fear over the fig. 4 is the initial hooking; it’s quite scary to be in a horizontal position under the wall, especially when all your weight is on one hand! However, the alternative is to hang underneath your outstretched arm, and not many people have the strength to then pull up and make the move!
You’ll often see fig.4s used to traverse a roof section with no feet. It’s also used in conjunction with the fig. 9, which is the same technique, but same arm and leg rather than opposites. As useful as a fig. 4 is, be careful you don’t fall! You’ll be all twisted and uncontrolled.
There you have it – our guide to mastering the main dry tooling techniques. Now, come down on Friday (the last one of every month!) to test out your newfound knowledge – or just check out the formidable Old Man Dave in action!
For more information about dry tooling in North Devon, or on any of our other activities, contact us on 01769 309002.